Adding a new booking using an existing default slot
You may find that your personal preference is to use the planner to manage your workflow. You are able to add bookings directly from the planner so that they will appear in both the planner and diary.
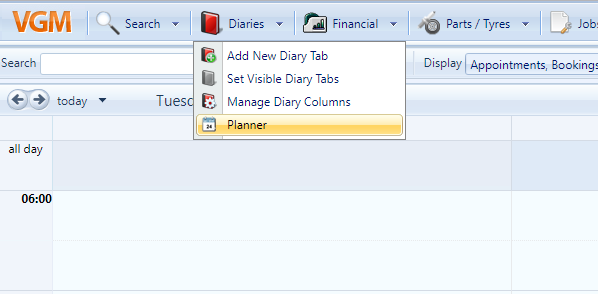
To do this you will need to click ‘Diaries’ and select ‘Planner’ from the drop down menu.
From the planner view you will find a ‘New Booking’ tab near the top of the screen. Click on this to bring up a new booking form.

The ‘Booking Action’ allows you to select an existing slot from your default slots, alternatively you can select ‘Insert a New Slot’ which will create a booking slot unique for this booking.

Use Existing Slot. If you choose to use an existing slot you will be able to specify which slot you wish to use by selecting an option from each of the drop down menus. When adding a booking this way you only need to select a date and Slot Type – you will then be able to view the available slots in the ‘Available Slots’ drop down menu.

Once a time has been selected and you have clicked save you will be able to fill in the customer and vehicle details as you would from the Diary view.
Inserting a new slot.
Inserting a New Slot allows you to create a new booking in addition to the default slots visible in your diary. This means that you can select a Slot Type, Bay and Technician unique to that particular booking and then insert it into your diary and planner.
To create a booking this way from the planner simply click the ‘New Booking’ button as described previously in this article. Select ‘Inset a New Slot’, fill out the details for the booking and hit save.
