Create a new Job Template
This article show you how to create a new Job Template, and add items to that template.
To create a new Job Template click on “Config” in the top menu, and then “Job Templates”. Click on the “New” button in the toolbar to add a new Job Template, and open the “Add / Edit Job Template” window.
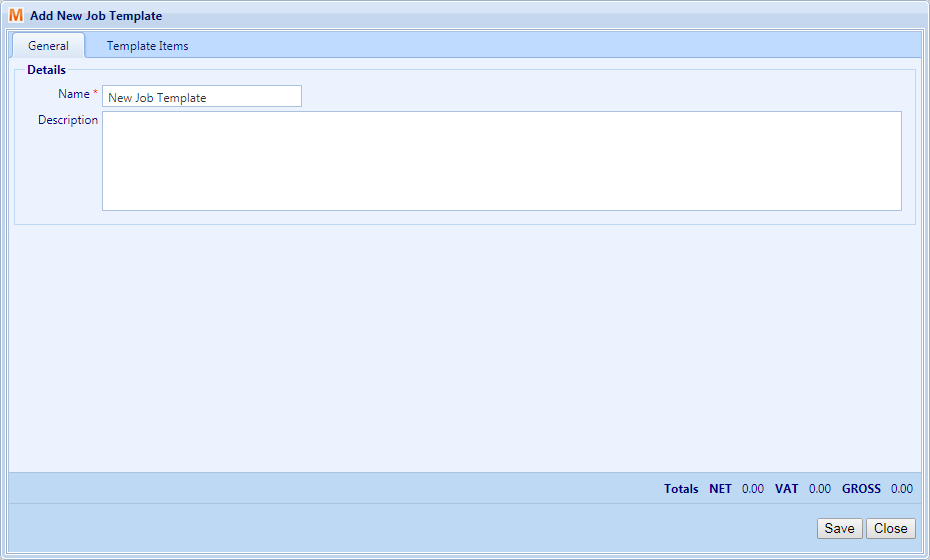
Enter a name for your new template, and a description. Then, click on the “Template Items” tab. To add items to your template, click on any of the item types in the toolbar (Custom, Parts, Labour, Tyres).
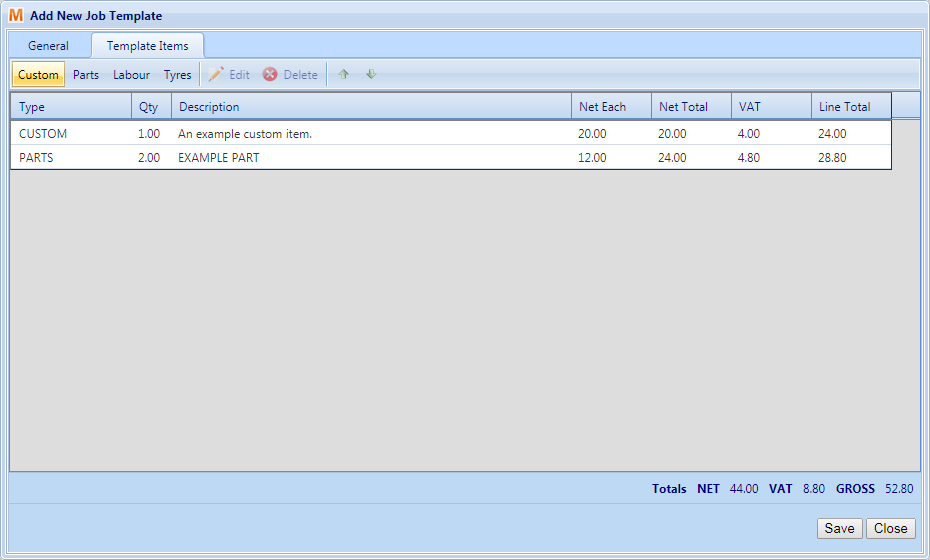
Please note; unlike with Quotes, Jobsheets and Sales Invoices, Parts, Labour and Tyre items added to Job Templates remain linked to their original source, and their price, description, etc… will be updated on the template when the original source (the original part, labour rate, etc…) is changed.
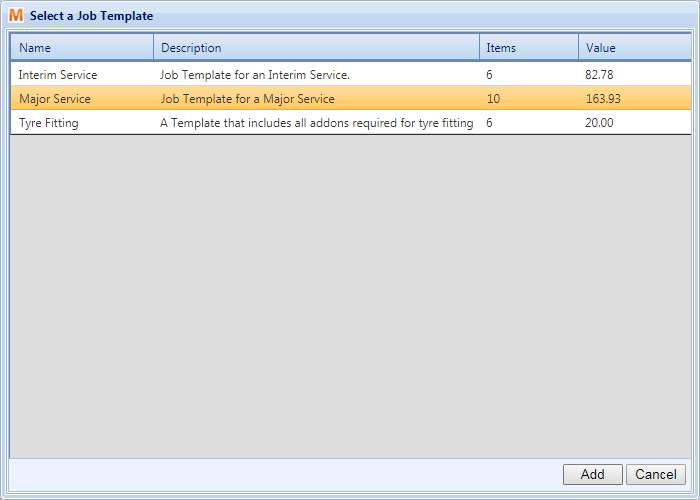
Adding a job template to a jobsheet, quote or sales invoice
To add your job template to a sales document (Quotation, Jobsheet, Sales Invoice), begin by opening your document. In the document items view, click on the “Templates” button in the document items toolbar.

In the “Select Job Template” window that opens, you will find a list of the available job templates on your system. To add one of these templates to your document, select the template (Left Click) and click on the “Add” button. This will create new items on your sales document for every item on the job template.